Step 2: Door Panel
Assembly steps
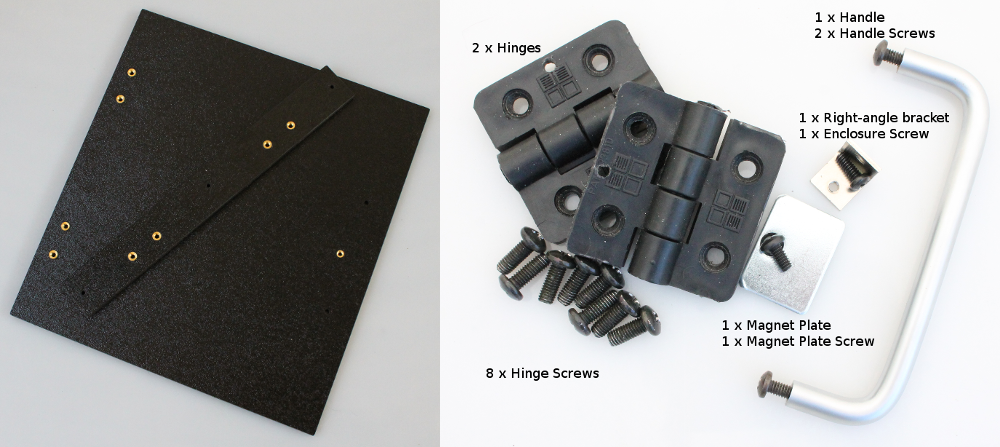
Before starting, please sort the hardware so that you know which screw goes with which part. Use the image above for guidance and the reference table on the Hardware page.
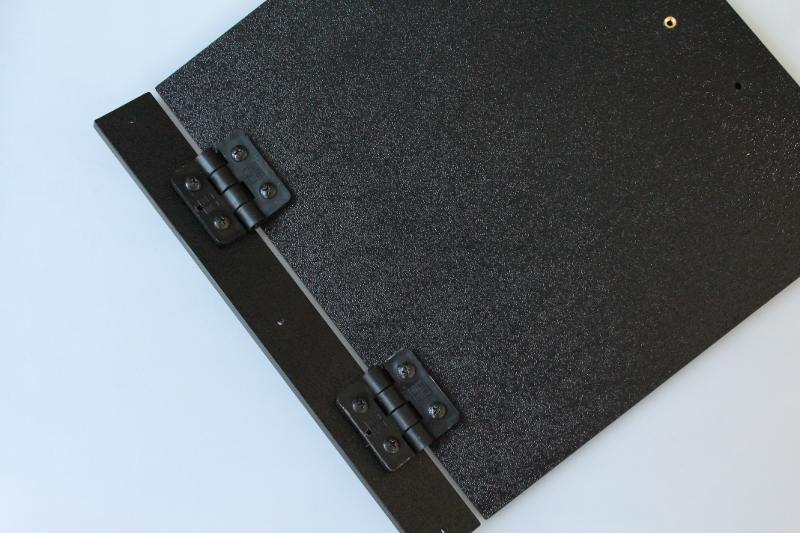
Line up the two door panels and attach the hinges as shown using the 8 x hinge screws
There is a subtle orientation to the placement of the longer, narrower part next to the door panel. However the hinges will only mount correctly in one of the orientations. You can place the hinges over the holes to make sure they line up. Once you have everything lined up, screw the hinges onto the door with the 8 large hinge screws.
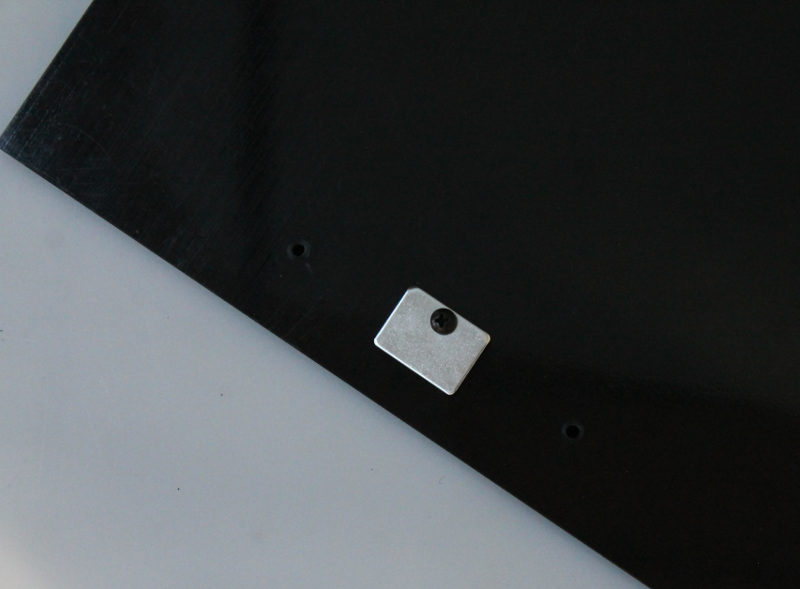
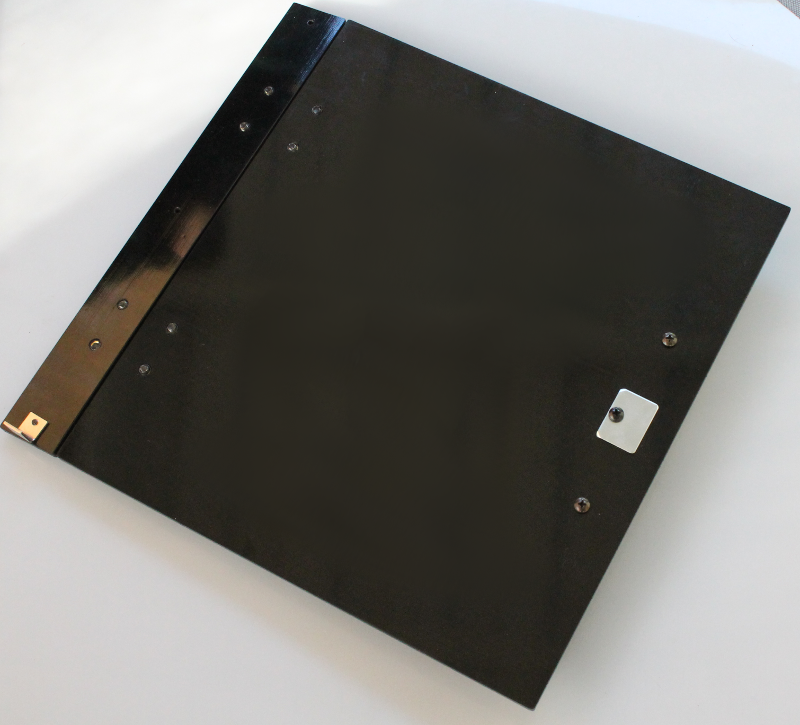
Attach the metal plate to the inside of the door
The metal plate has two corners that are slightly folded down. Place the plate on the door so that these two folded corners are sticking into the material. [1]
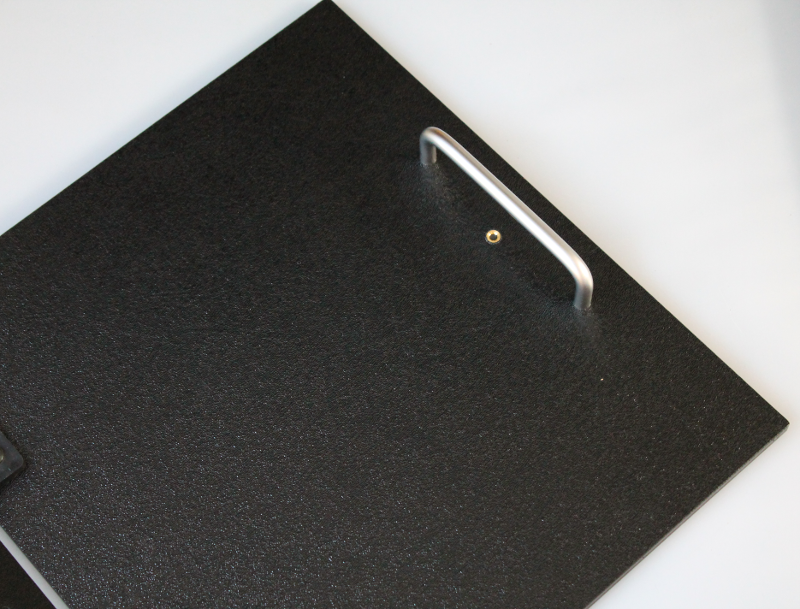
Attach the door handle
Attach the right-angle bracket to the top of the smaller door panel as shown
As before, screw the right-angle bracket into the door panel. use the image below for guidance.
Footnotes
| [1] | The magentic door latch on this enclosure is very strong. We have recently found that by placing 2-3 layers of tape (Scotch tape, electrical tape etc.) over the magnetic plate, the door is easier to operate i.e. open/close with one hand on the door and one hand holding a gel tray. |