Assembly instructions start here !
Step 1: Base Panel
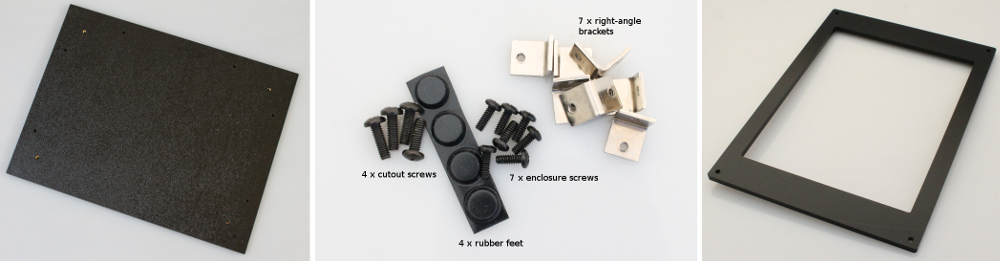
Assembly steps
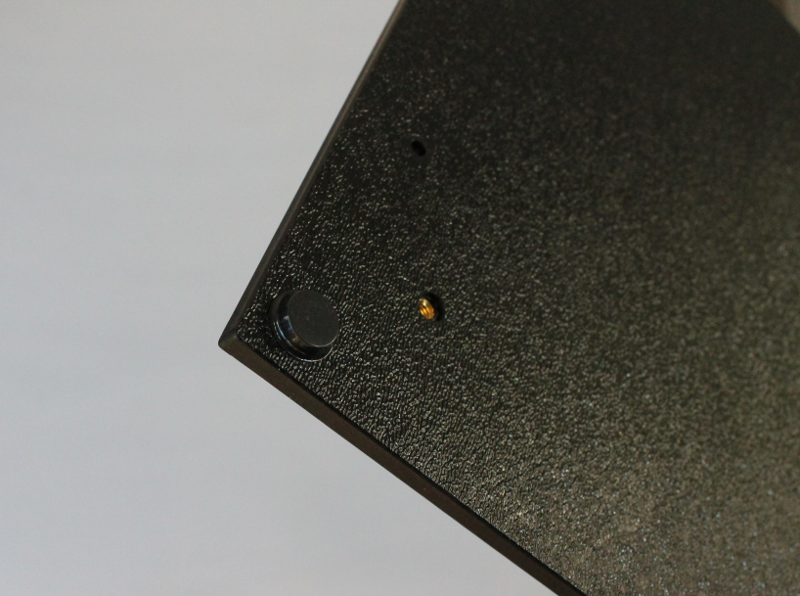
Attach rubber feet to the base panel
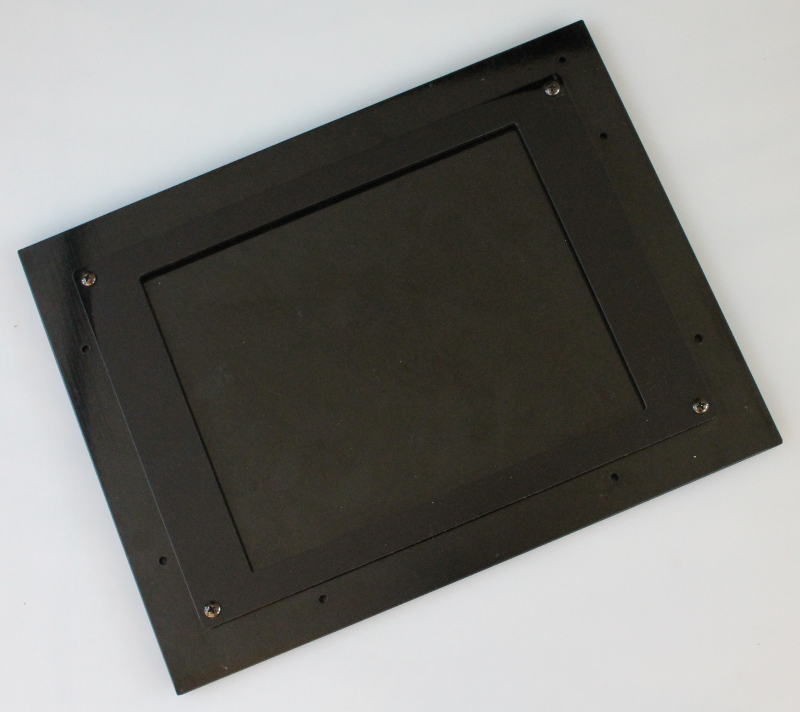
Attach the transilluminator frame to the base panel
Peel off the paper-backing on the frame and screw into the base panel using the 4 longer insert frame screws.
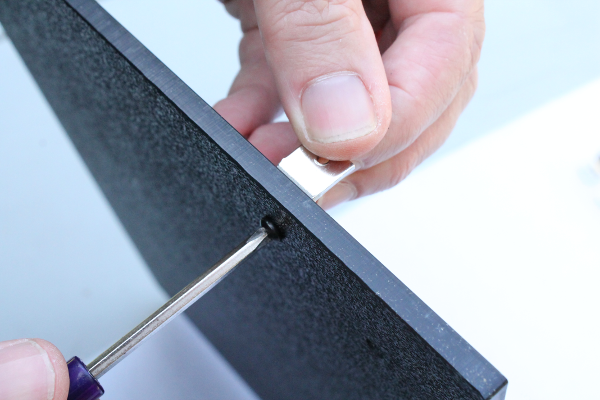
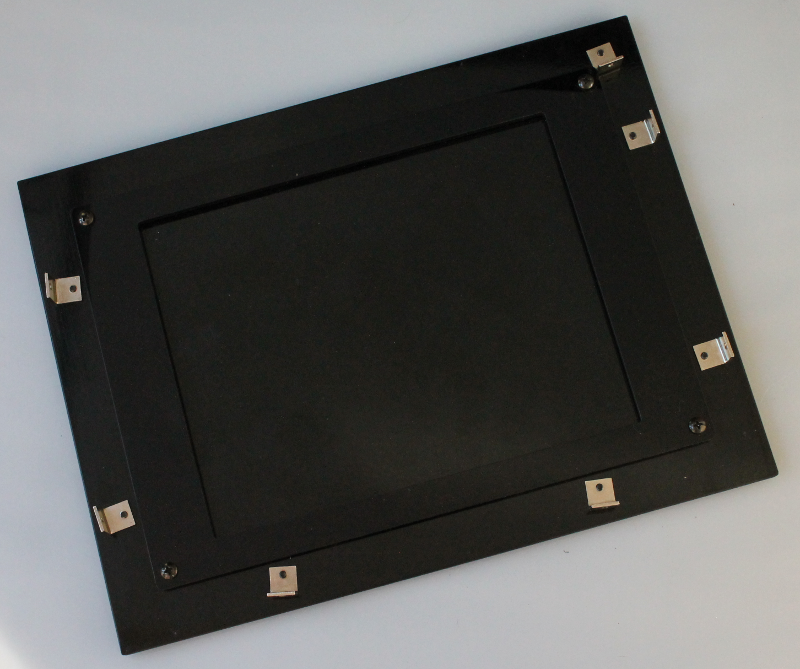
Mount 7 right-angle brackets
Using the screwdriver and enclosure screws, place the right angle brackets as shown in the images below. The brackets do not need to be tightened down too much at this point as you may have to adjust them later.