Step 3: Right Panel
Assembly steps
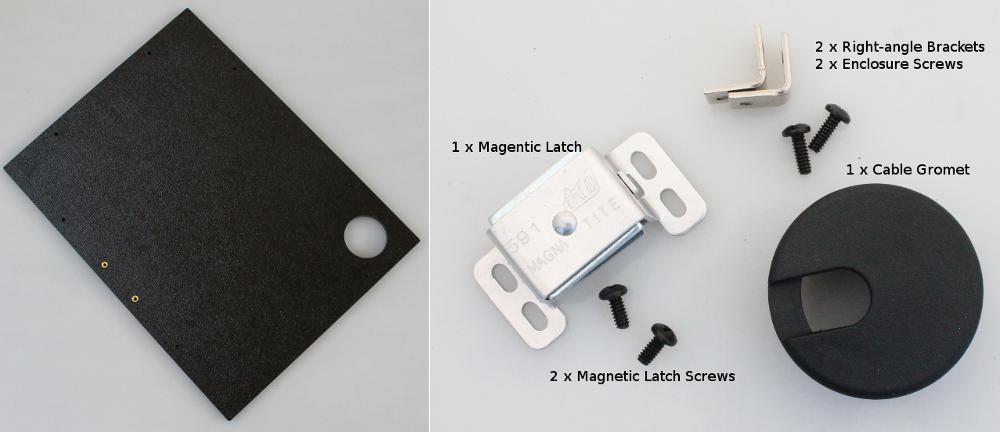
Before starting, sort the hardware so that you know which two longer screws goes with the right-angle brackets and which two shorter screws go with the magnetic latch. Use the image above for guidance and the reference table on the Hardware page.
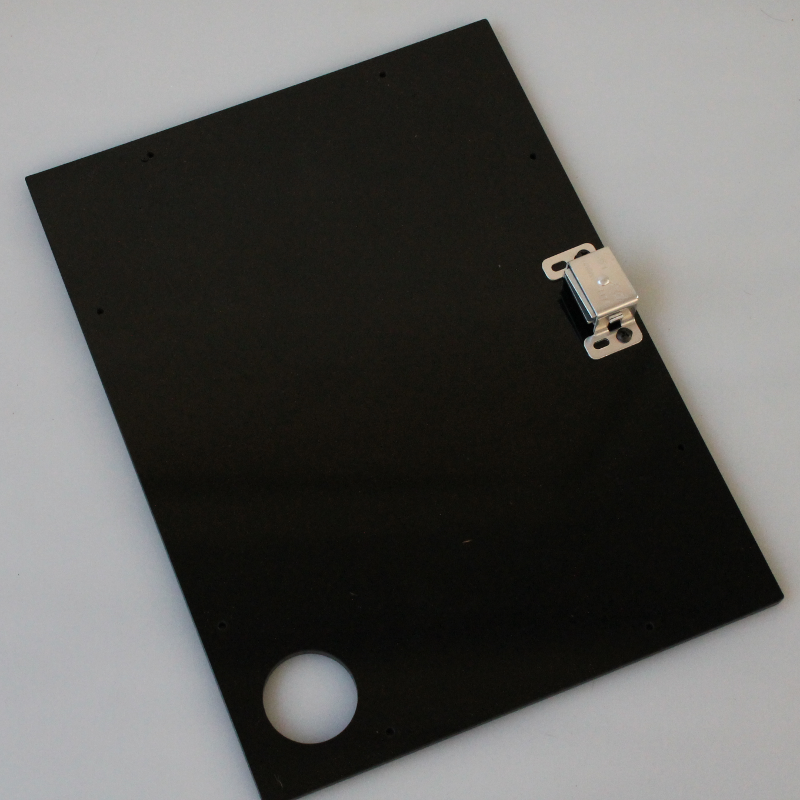
Attach the magnetic latch to the inside of the right-side panel with the two smaller screws
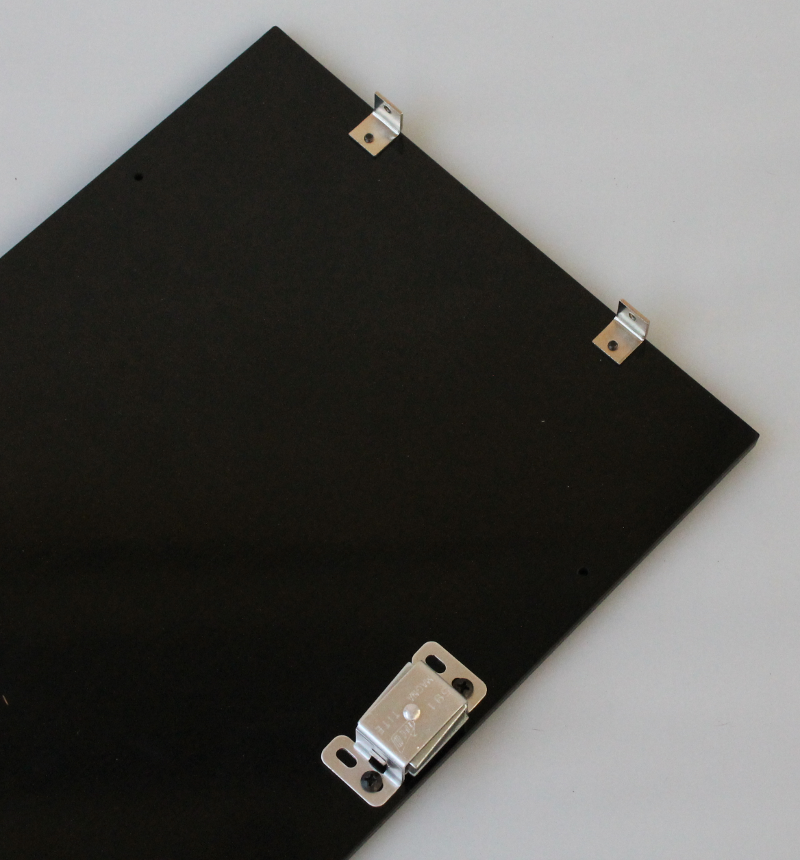
Mount the two right-angle brackets as shown in the image below with the two enclosure screws
Mount the two brackets on the top edge.
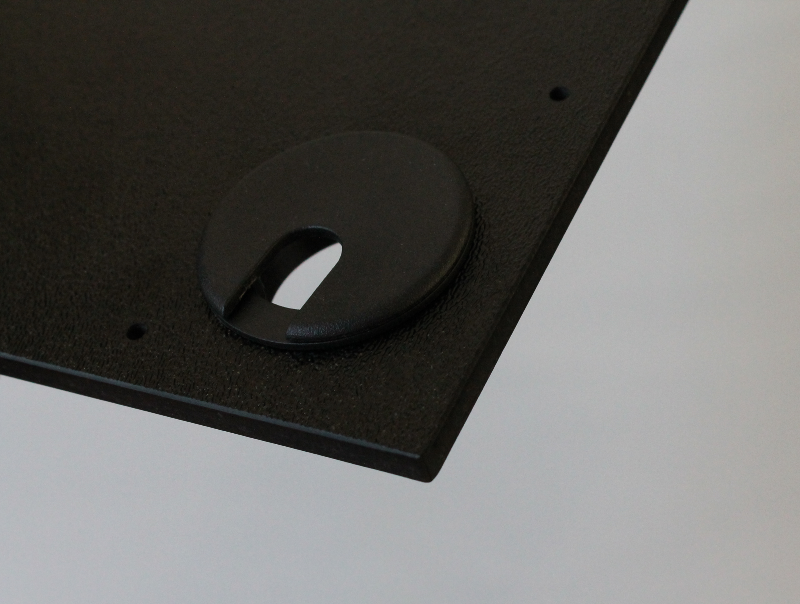
Insert the cable entry grommet into the round hole at the bottom of the panel
This should fit snugly just by pushing the part into the hole.