Linux CNC computer
Parts
See the Parts List section for a list of vendor information.
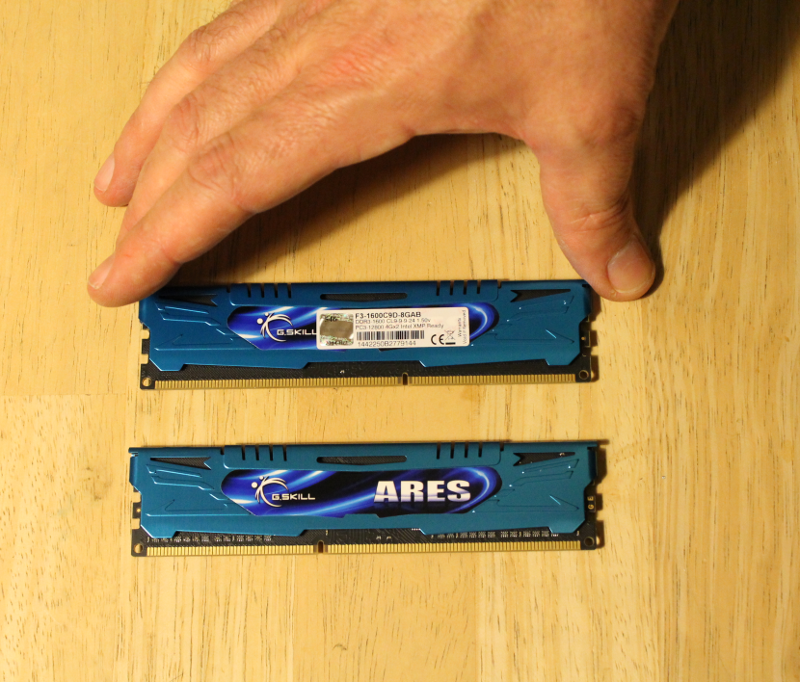
2) Memory
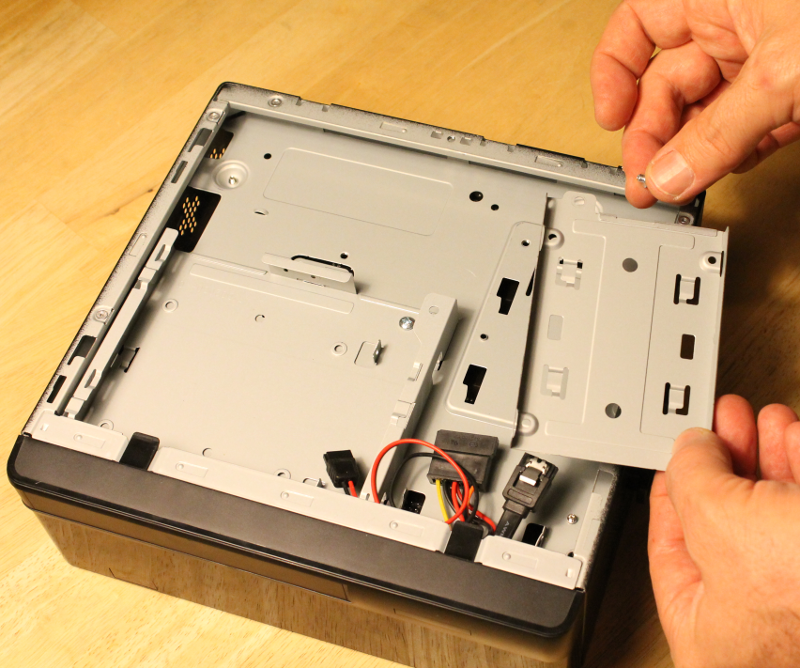
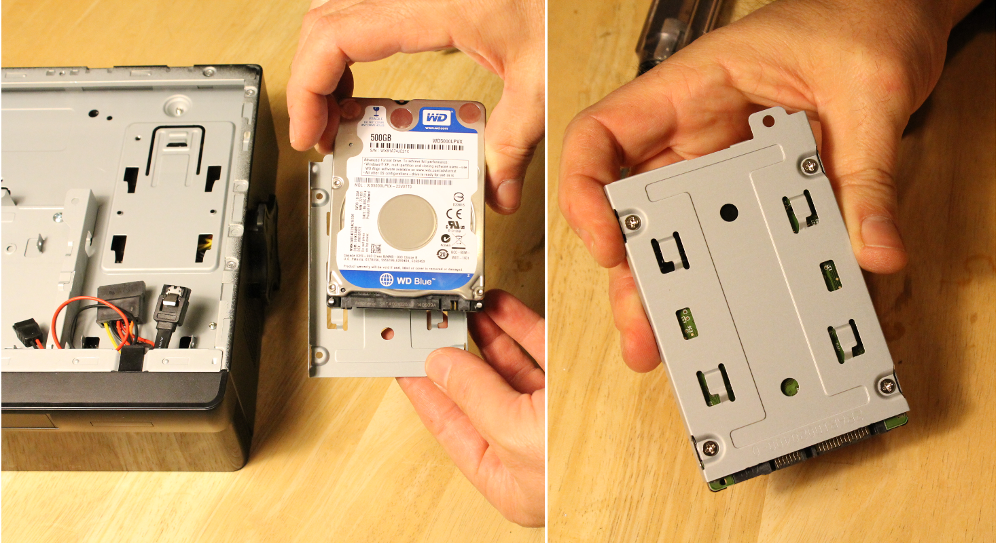
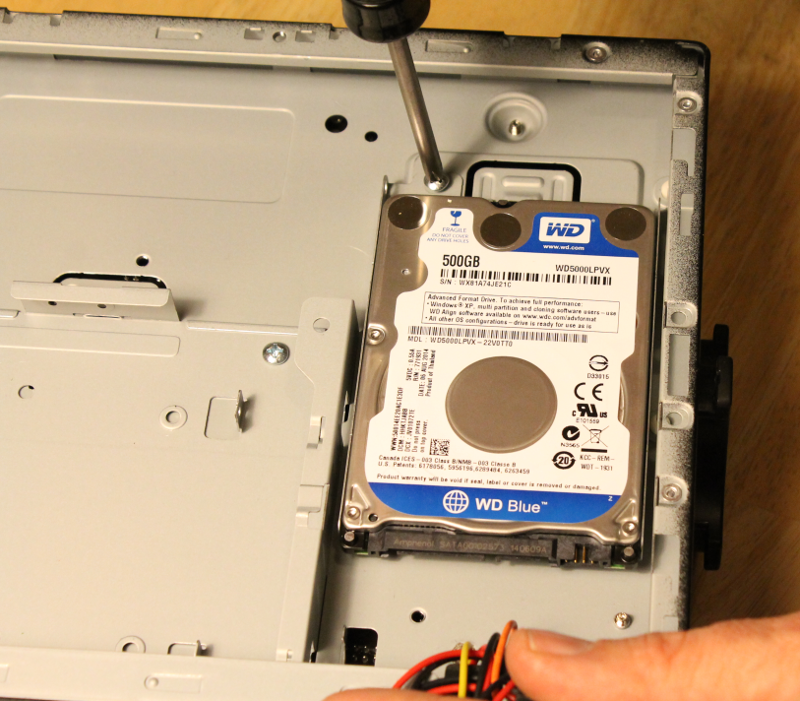
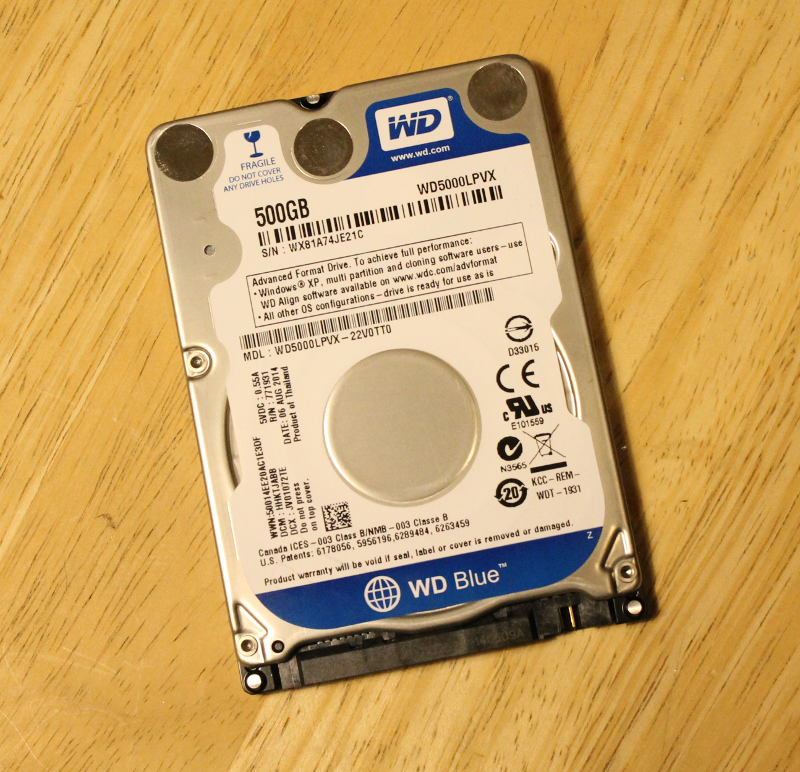
3) Hard drive
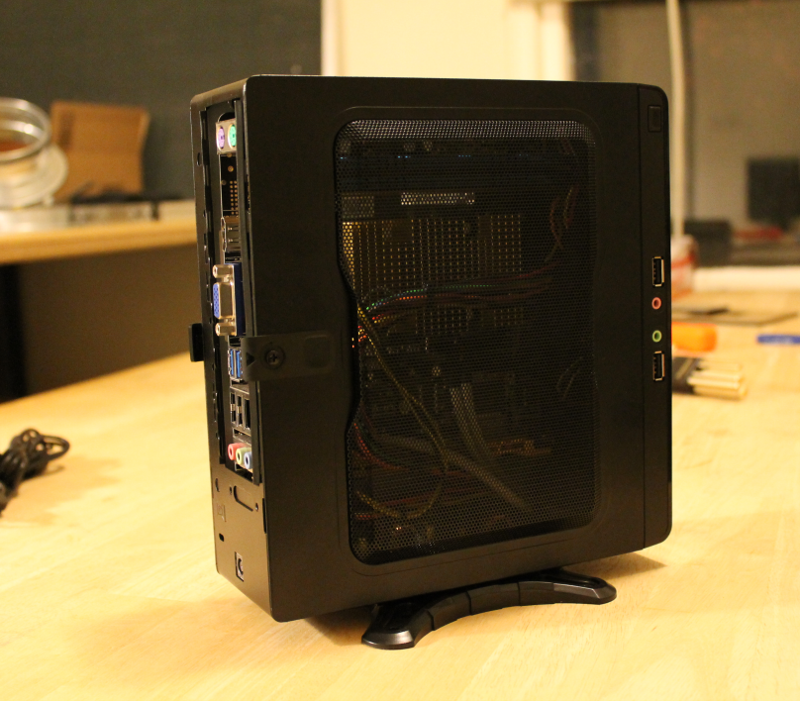
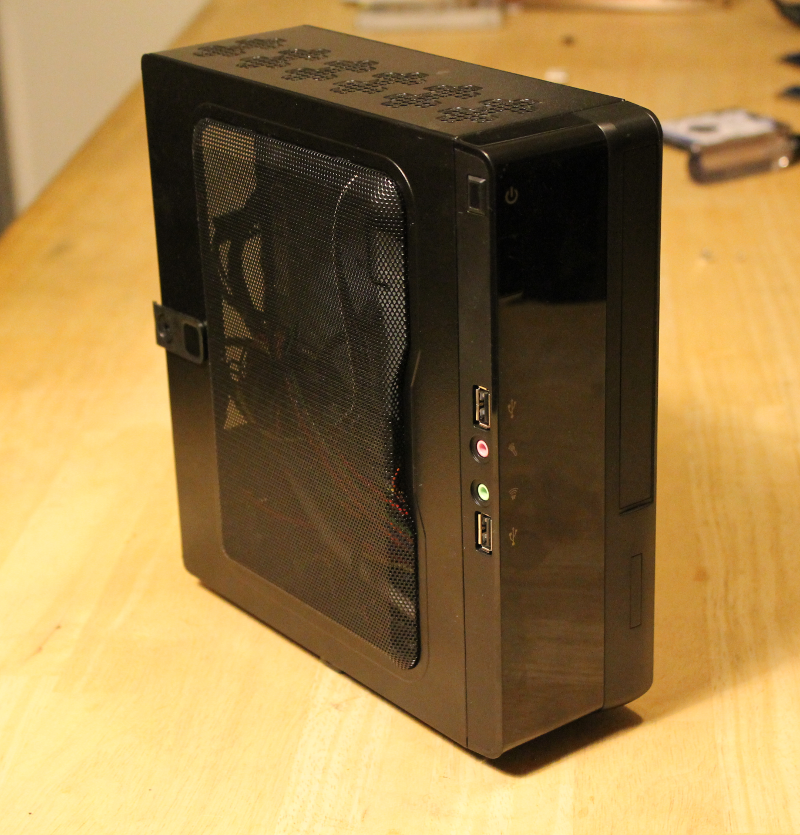
4) Computer case
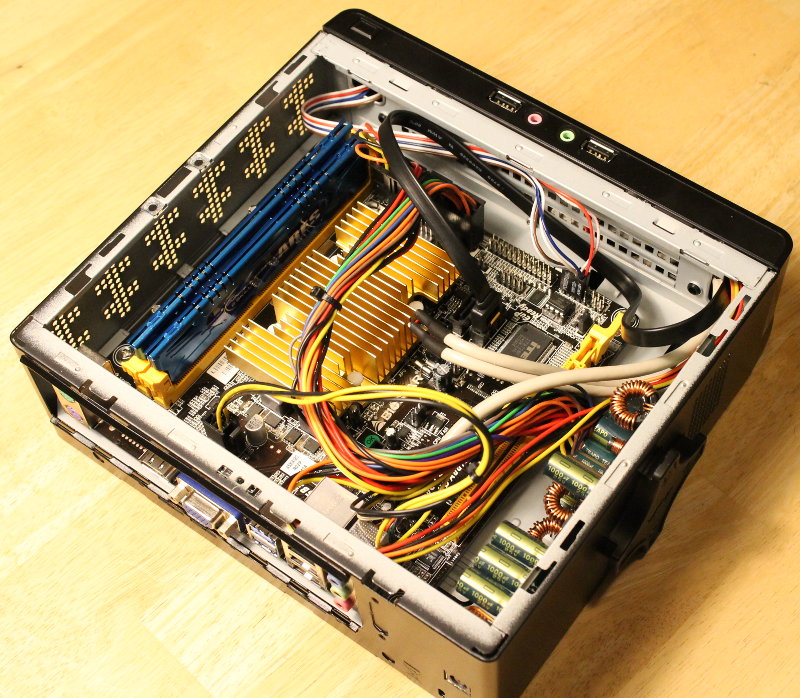
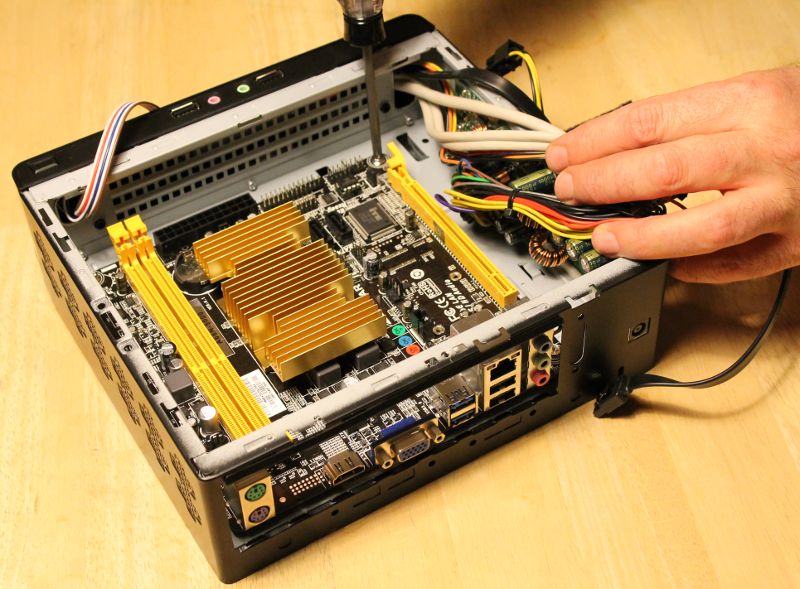
Installing the motherboard & memory into the case
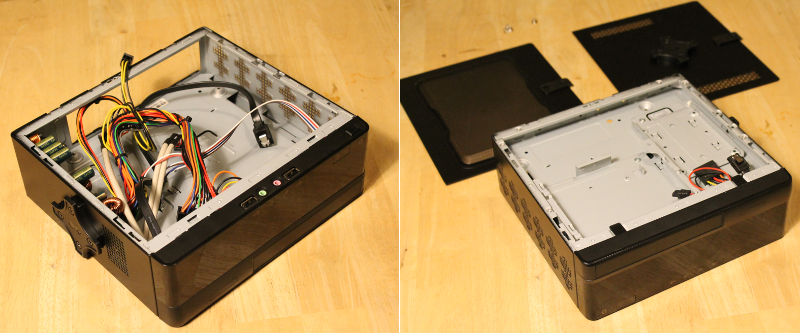
Open computer case - take off both removable sides
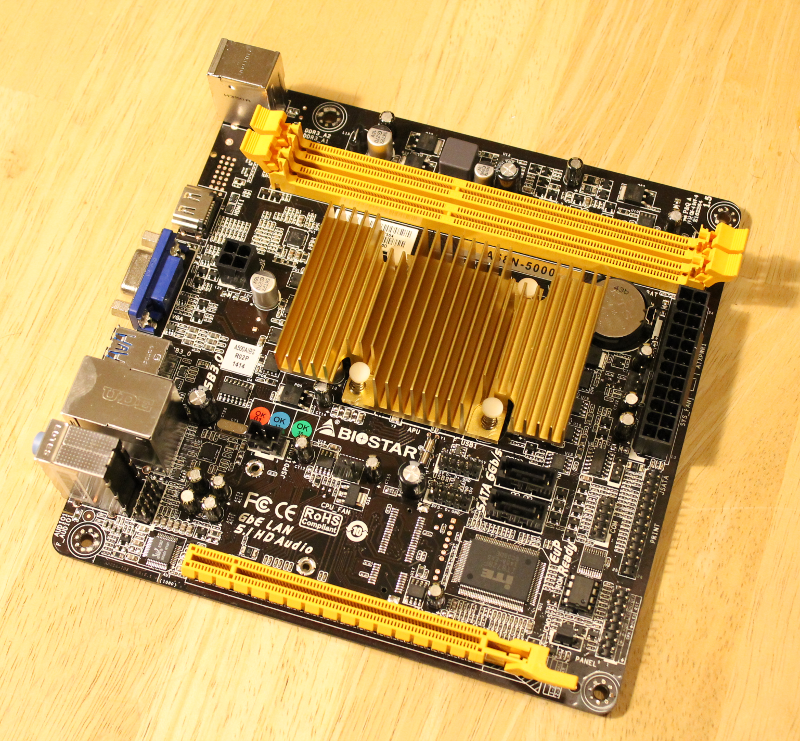
Mount motherboard with screws into the case
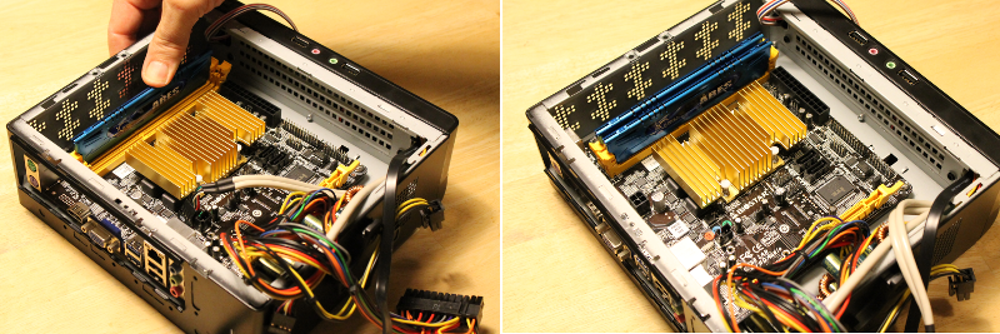
Install memory in the available sockets
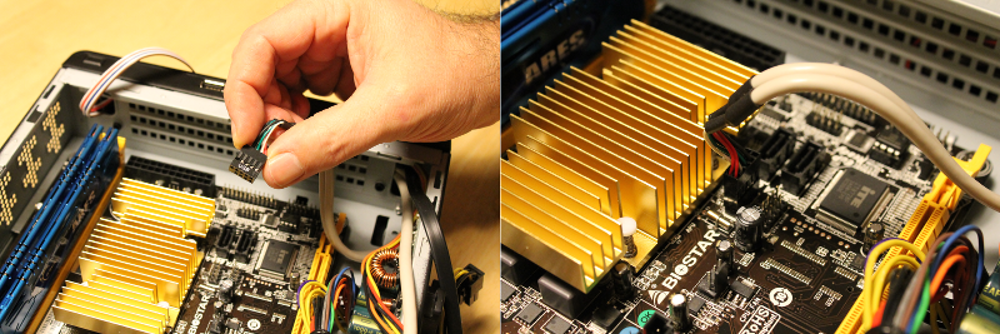
Connect USB cable
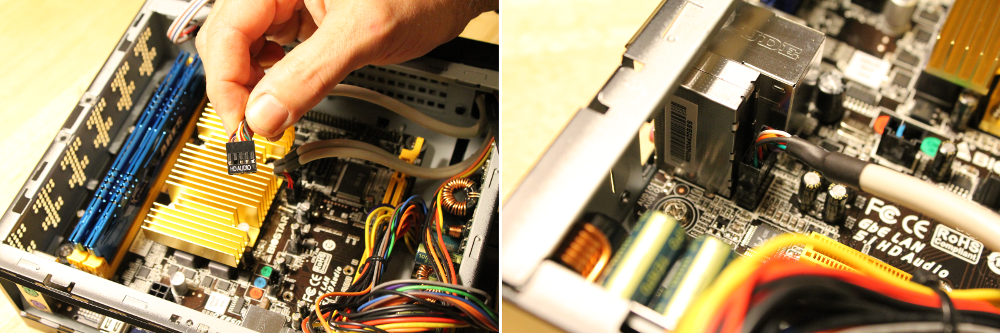
Connect HD AUDIO cable
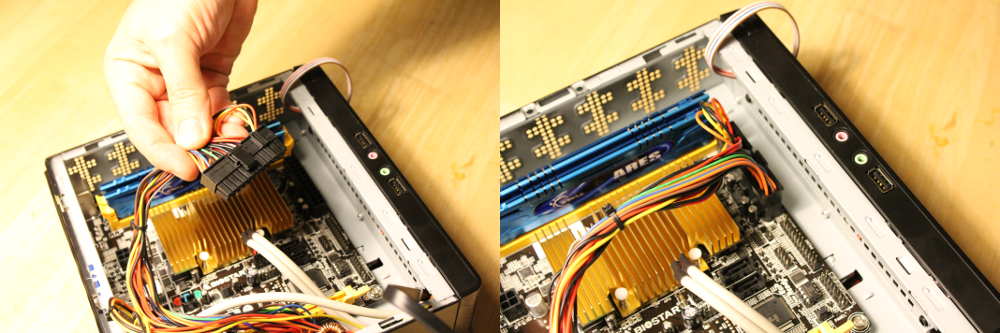
Connect 24-pin ATX POWER cable
Connect 4-pin ATX POWER cable

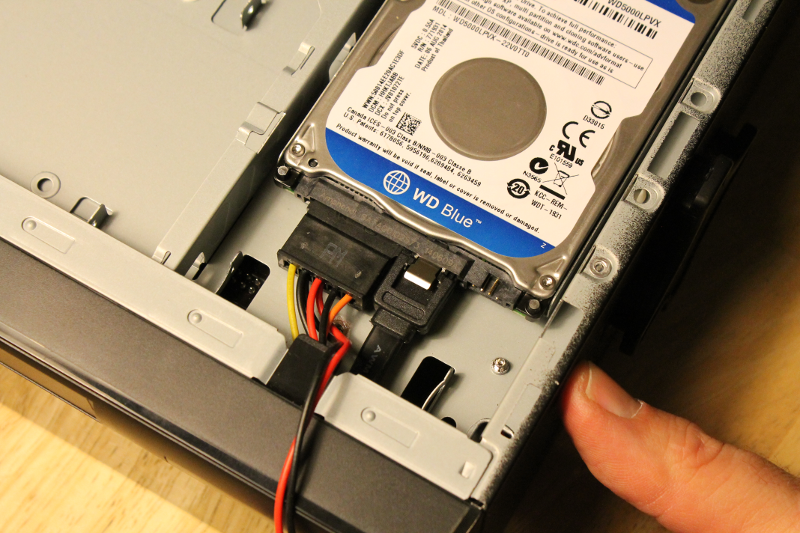
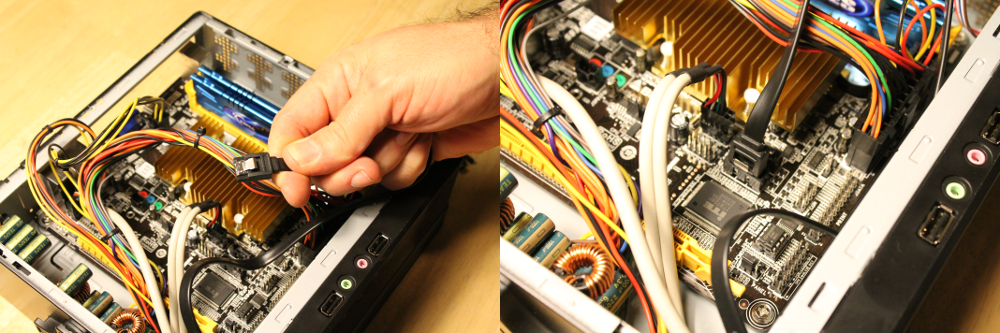
Connect hard drive SATA cable
Connect power switch and LED indicator cables

Finished image of the installed motherboard