Software features
Calibrating the colorimeter
(Basic, Plotting, Measure)
Once connected to the hardware, you need to first take a calibration (“blank”) measurement to enable the “Measure” feature of the program. This needs to be done at least once (when you first start to use the program), but it can be done additionally at any time while taking measurements. Typically, a calibration measurement is carried out with a solution which does not contain any of the color you are interested in measuring. It is usually the liquid you used to dissolve or dilute your colored solution. In many cases, this liquid is water. As an example, if you are measuring the absorbance of blue food dye, you will use water to calibrate the color sensor. However, if you are carrying out a colorimetric assay, such as the ammonia assay in Lab 3, then you will calibrate against the assay solution developed with distilled water.
In all cases, the steps are the same:
- Place a cuvette with water (or other “blank” solution) into the device;
- Click on “Calibrate”. The program will display a value of 1.00 for Transmittance and 0.00 for Absorbance on all color channels.
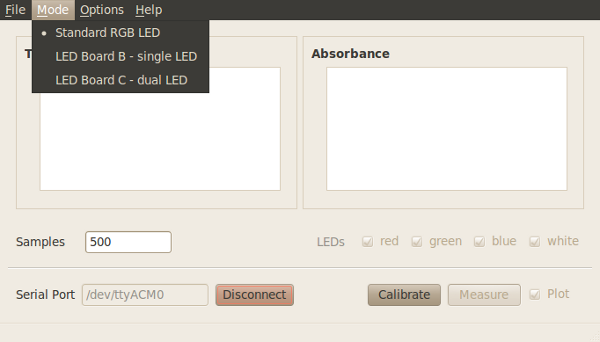
Selecting custom LED boards
(Basic, Plotting, Measure)
Use this feature if you are using custom wavelength(s) with LED Board ver B or C. See Optional LED wavelengths
Changing sample rate
(Basic, Plotting, Measure)