Laser Cutter Build Documentation

Building the HEPA filter box - Part 1

«  Installing water cooling to the laser tube   ::   Contents   ::   Building the HEPA filter box - Part 2  »

Building the HEPA filter box - Part 1

Custom Parts

_images/filter_box_parts_1_2_3.png
_images/filter_box_parts_4_5_6.png

Gluing the box

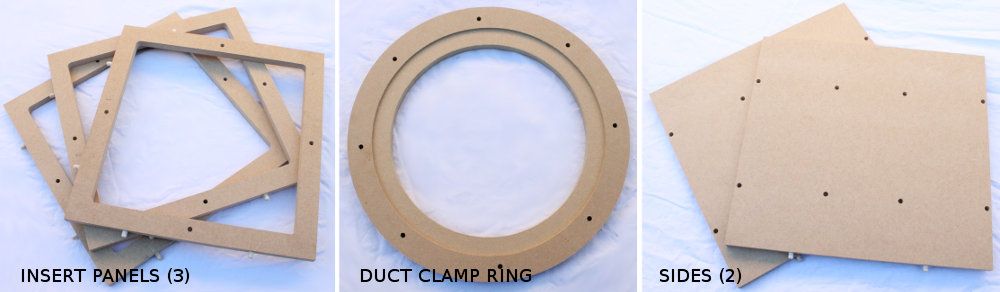
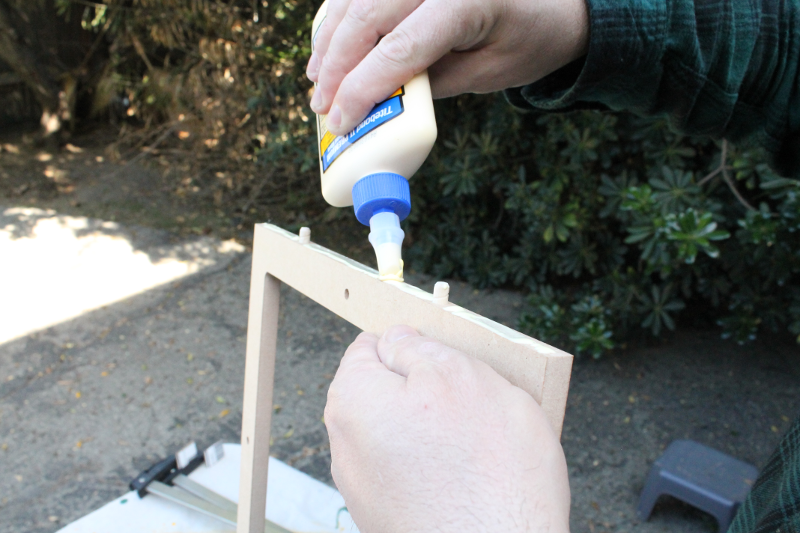
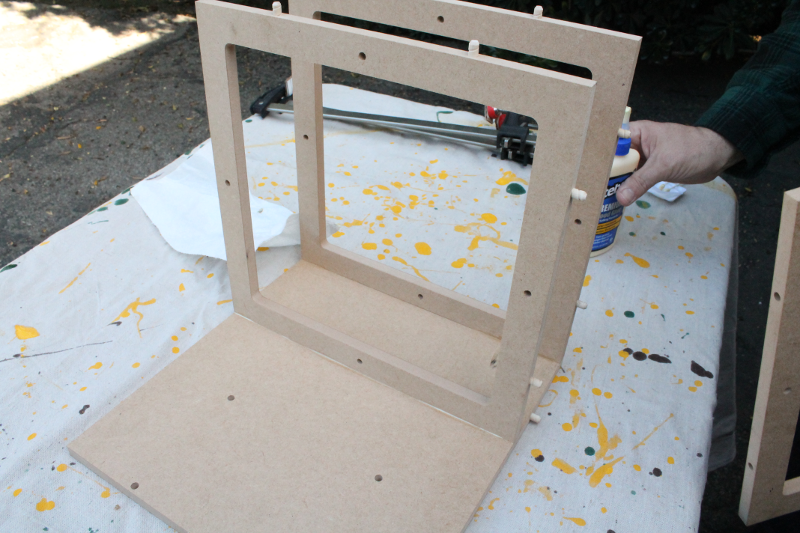
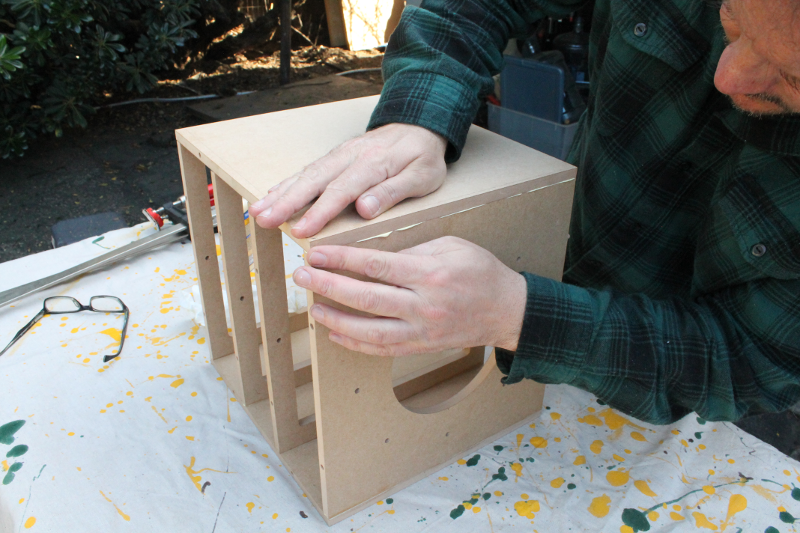
Apply wood glue along the edge of one of the insert sides and press into place in one of the sides

_images/filter_box_gluing_1.png
_images/filter_box_gluing_2.png

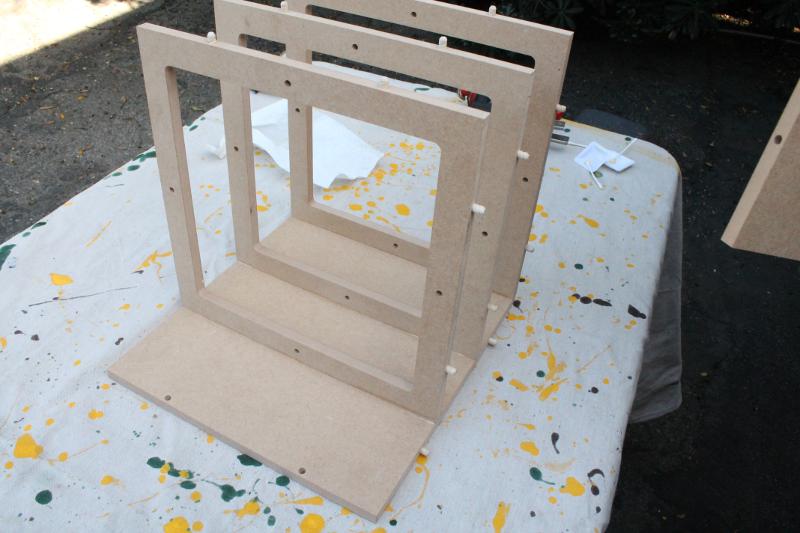
Repeat for the other two insert sides and the back

_images/filter_box_gluing_3.png
_images/filter_box_gluing_4.png
_images/filter_box_gluing_5.png
_images/filter_box_gluing_6.png

Apply wood glue along the other edge of all four parts and press the second side part into place

_images/filter_box_gluing_7.png
_images/filter_box_gluing_8.png

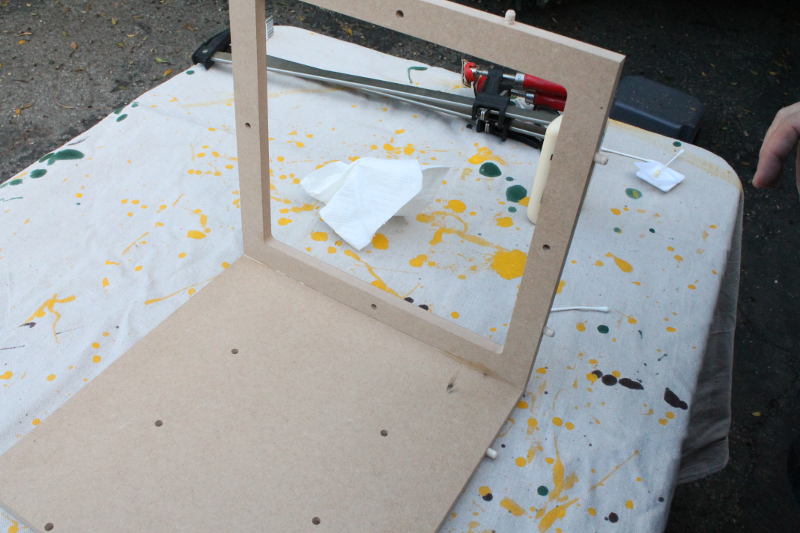
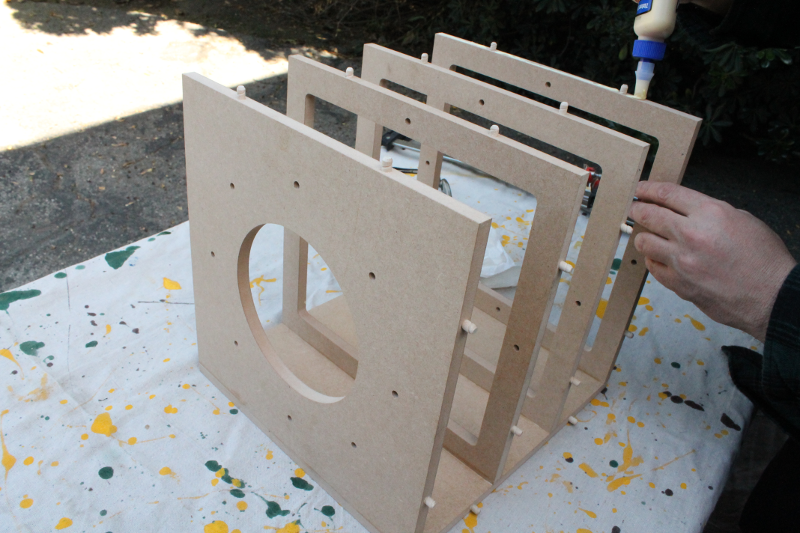
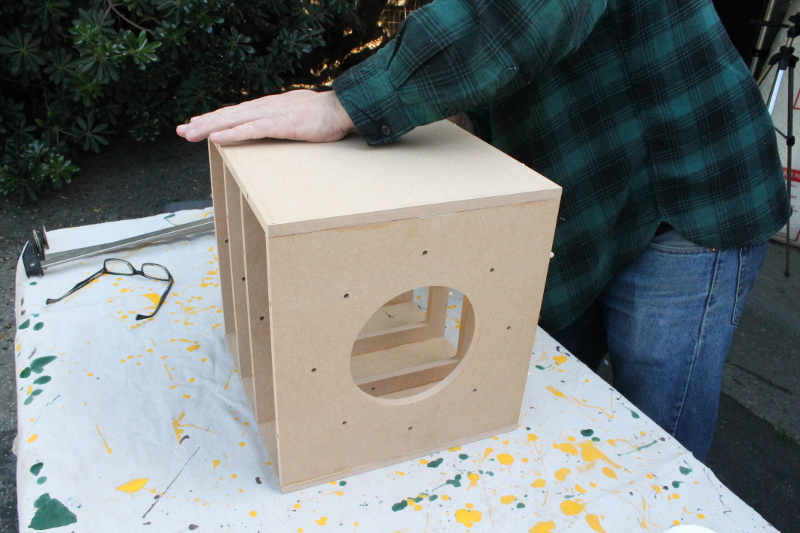
Wipe off any excess wood glue with a paper towel as you go along

_images/filter_box_gluing_9.png

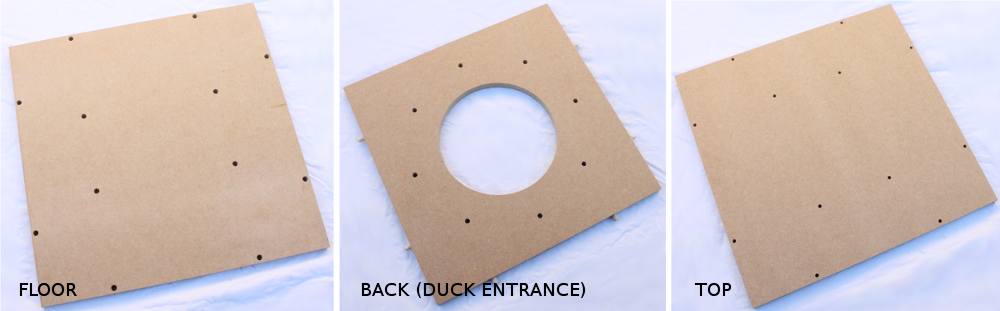
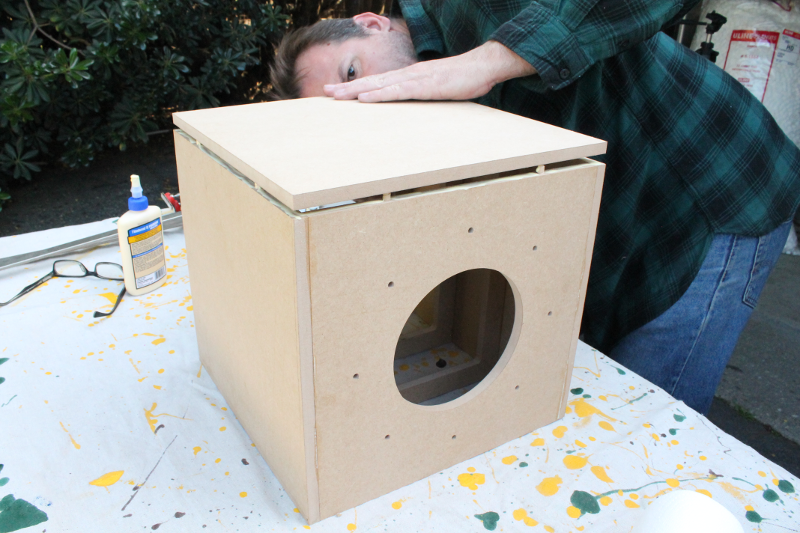
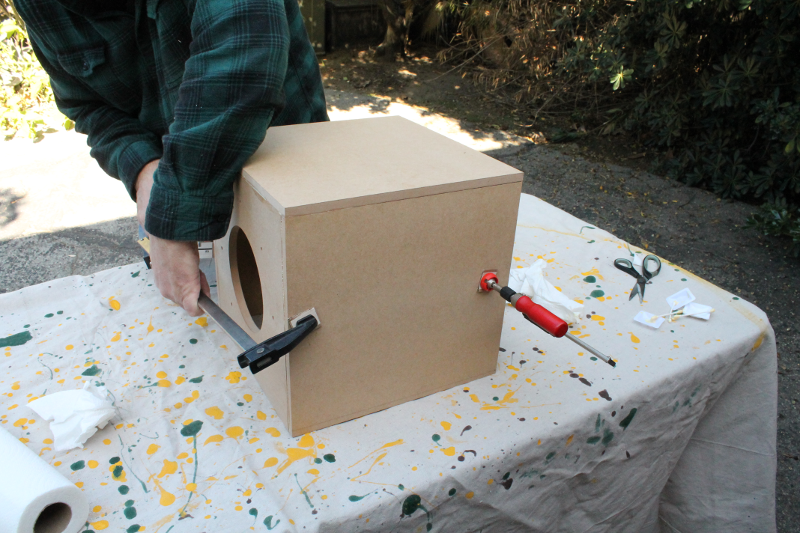
Flip the assembled box to its side and apply wood glue to the exposed edges. Press the floor into place

_images/filter_box_gluing_10.png
_images/filter_box_gluing_11.png
_images/filter_box_gluing_12.png

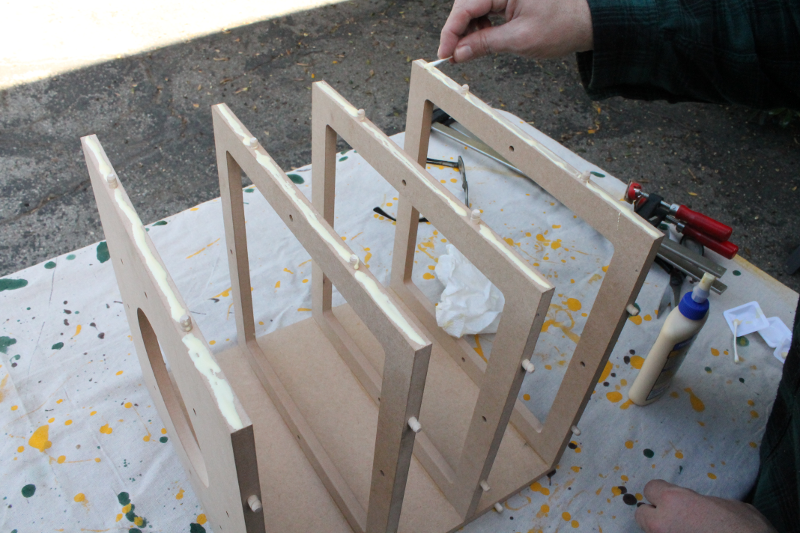
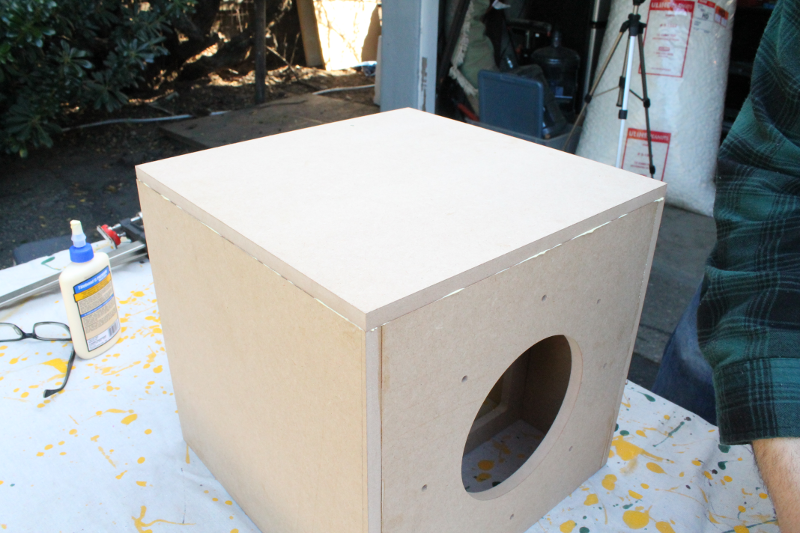
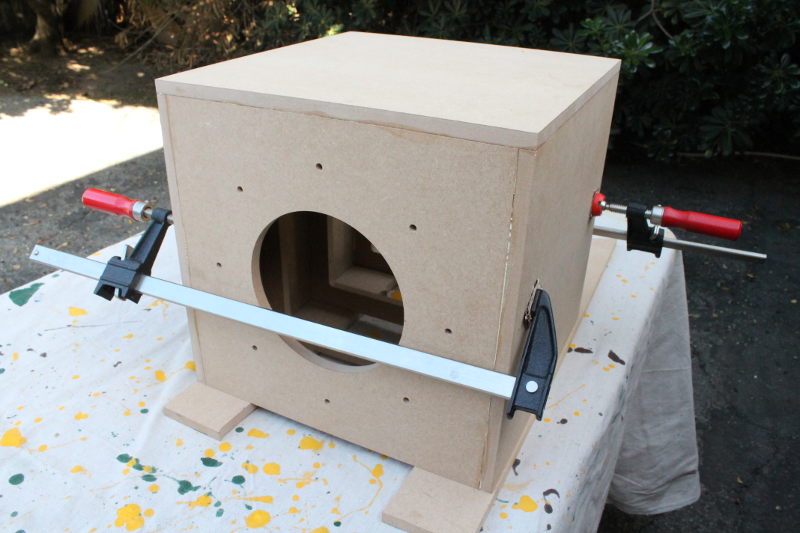
Clamp the glued boxed together and let the glue set for approx. 24 hrs or overnight

_images/filter_box_gluing_13.png
_images/filter_box_gluing_14.png

«  Installing water cooling to the laser tube   ::   Contents   ::   Building the HEPA filter box - Part 2  »