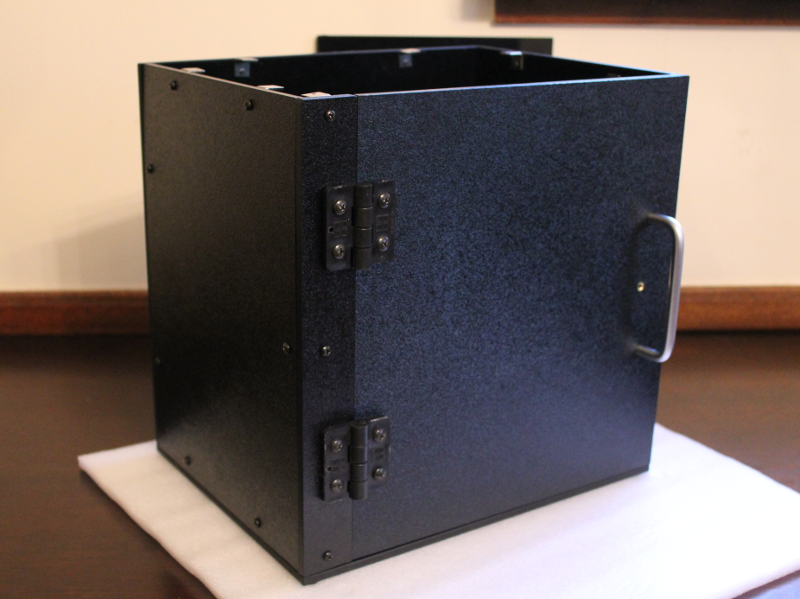
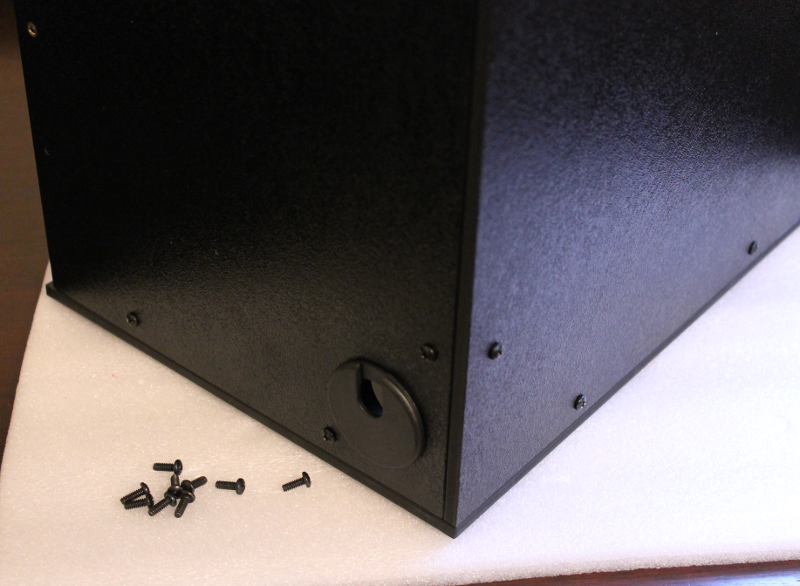
Step 6: Assembly of the enclosure
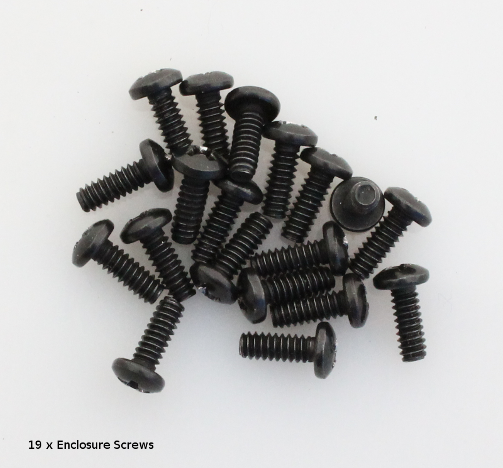
Final assembly steps ! These steps involve attaching the panels to the base and each other using the right-angle brackets mounted in the previous steps and the remaining 19 enclosure screws. Use the images for guidance.
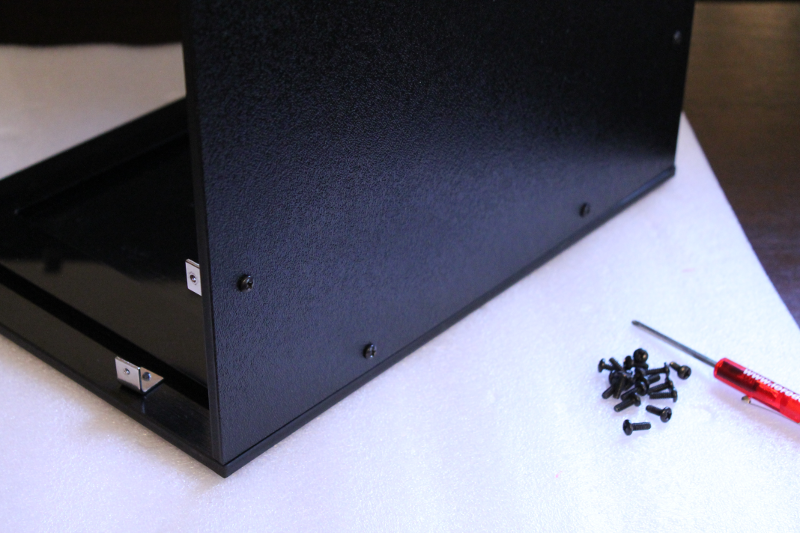
Step 1 - Attach back panel
Use 2 screws to attach the back panel to the right-angle brackets in the base.
Step 2 - Attach right-side panel
Use 2 screws to attach the right-side to the base
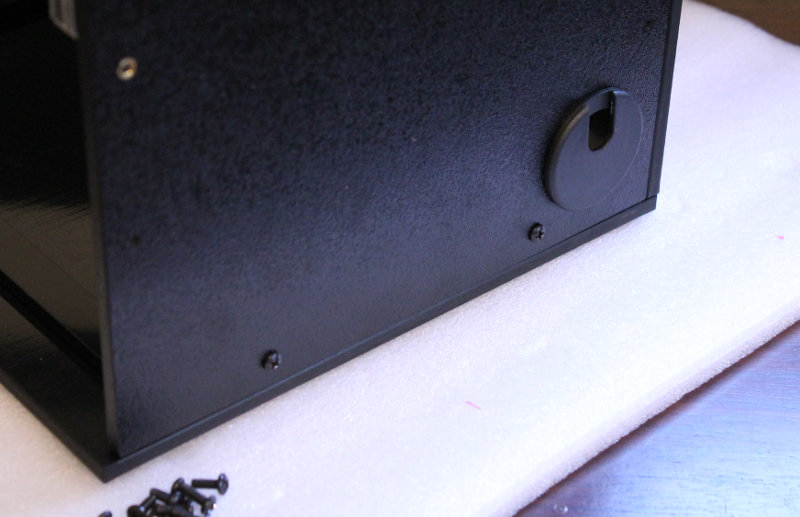
Use 2 screws to attach the right-side to the back panel
Step 3 - Attach left-side panel
Use 2 screws to attach the left-side to the base
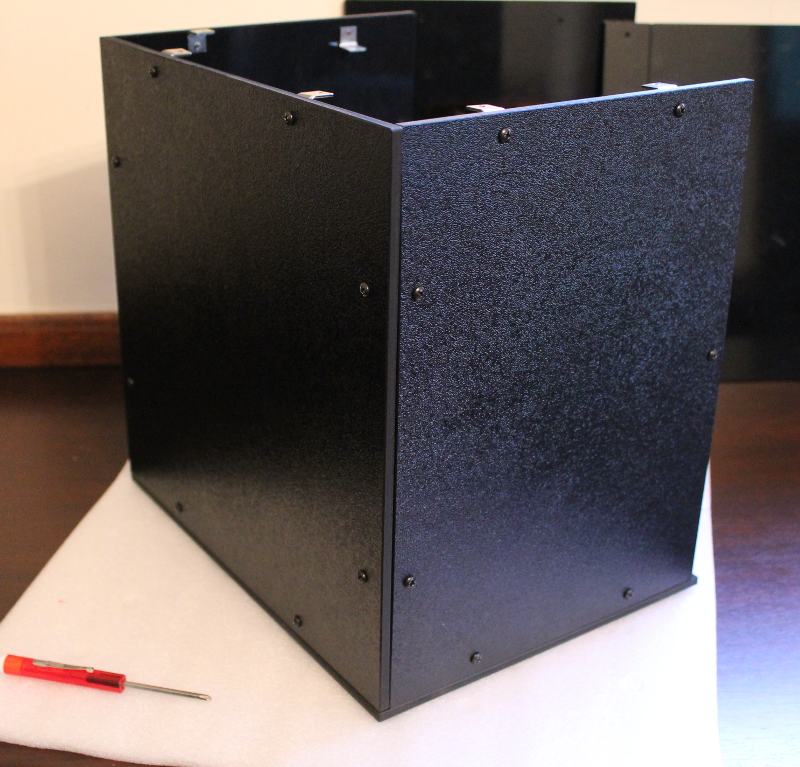
Use 2 screws to attach the left-side to the back panel
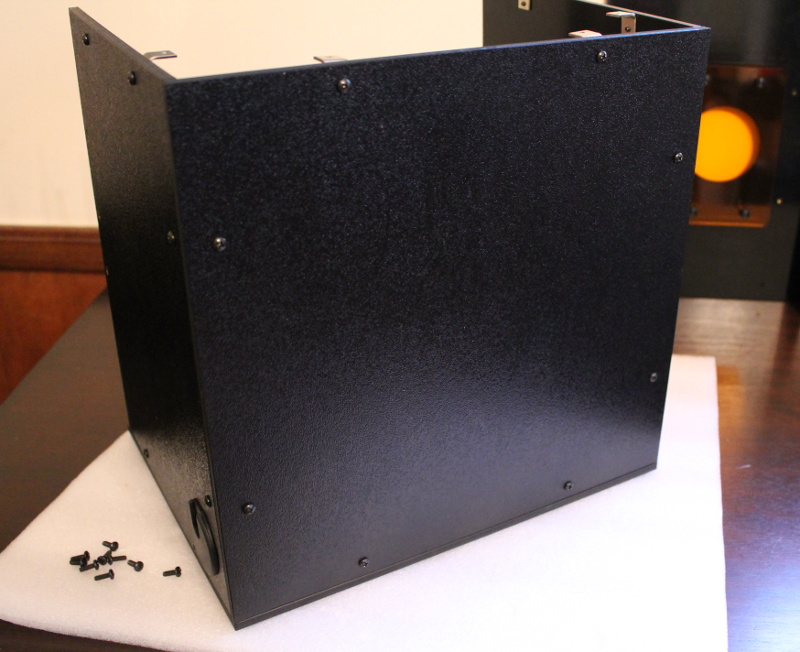
Step 4 - Attach the door
Use 1 screw to secure the door post to the base and 1 screw to secure the door post to the left-side panel