CheapStat Quick Start
Below are some brief instructions and images to get you started using the CheapStat for the first time. We also recommend watching the intro video “How to Use a CheapStat” by Aaron Rowe at http://cheapstat.strikingly.com/.
To get started using the CheapStat, plug in the USB cable and connect to your PC. The LCD screen should initially display the text “CheapStat” and then a few seconds later you will see the main menu.
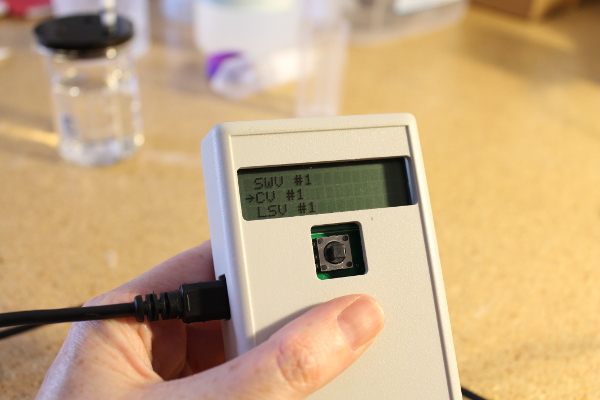
The menu options are as follows:
- SWV = square wave voltammetry
- CV = cyclic voltammetry
- LSV = linear sweep voltammetry
- ACV = alternating current voltammetry
- CA = chronoamperometry
- ConstantVoltage
Running a measurement
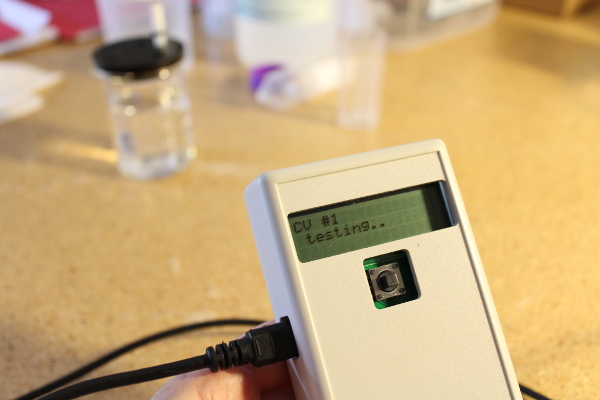
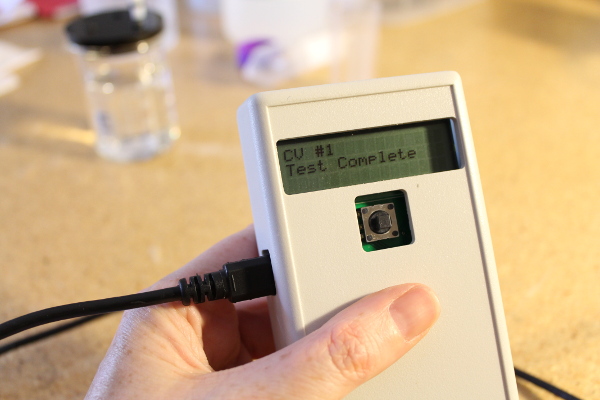
In the main menu, use the joystick button on the front of the device to navigate up/down the list of measurement options. Select a measurement e.g. CV (cyclic voltametry). Move the joystick button to the right to select “Start”. You should see the screen indicating when the test is running and when it is complete, as shown in the images below.
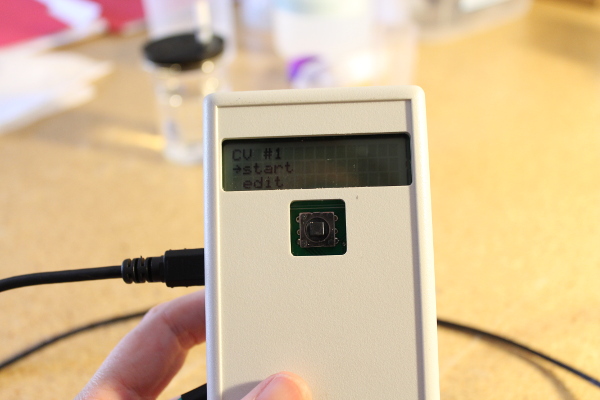
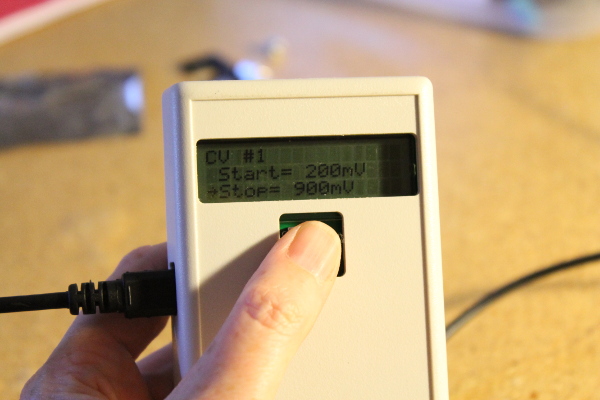
Changing the measurements parameters
Each CheapStat is pre-programmed with default settings. For example, the cyclic voltammetry (CV) parameters are:
- Slope: 5000 mV/sec
- Start: -100 mV
- Stop: 100 mV
- # of Scans: 1
- Sample rate: 1mV/sample
To change these settings, select the “Edit” option using the joystick button. Select the parameter by navigating up/down the list and moving the joystick to the right, then hold joystick up to increase or down to decrease.